Most students need a refresher course in the scientific method before they are ready to put it back into action in the lab. Here are some best practices for reviewing the key parts of the scientific method and maybe help them to remember for next year!

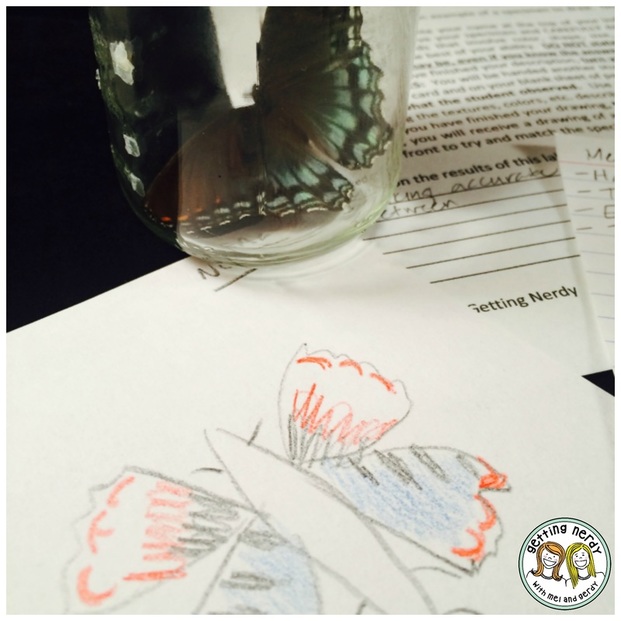
 OBSERVATION AND INFERENCE: Make (and ANNOUNCE) observations and inferences about what your students are wearing, how they’ll do in their lesson today, or about objects around the room. Two of our favorite examples that drive home observation and inference are filing cabinets and plants. A student can observe that a filing cabinet has 4-5 drawers, silver handles, and is the color of last season’s khaki, but they can’t SEE the actual files. They can INFER that the cabinet has files and papers inside, but not until you open the drawer can they truly observe it. The same with a potted plant. A student can infer all day long that a plant has roots, even though they can’t see them. It’s not until you remove the plant from its container and shake of the dirt that you can prove that the roots are indeed there. Give them an activity that guides them through the process of making observations and inferences. We like to use a three panel scenario to teach observation and inference and ask students about what they see and what they think will happen next. You can read more about this idea in a blog post we wrote about Observation and Inference.
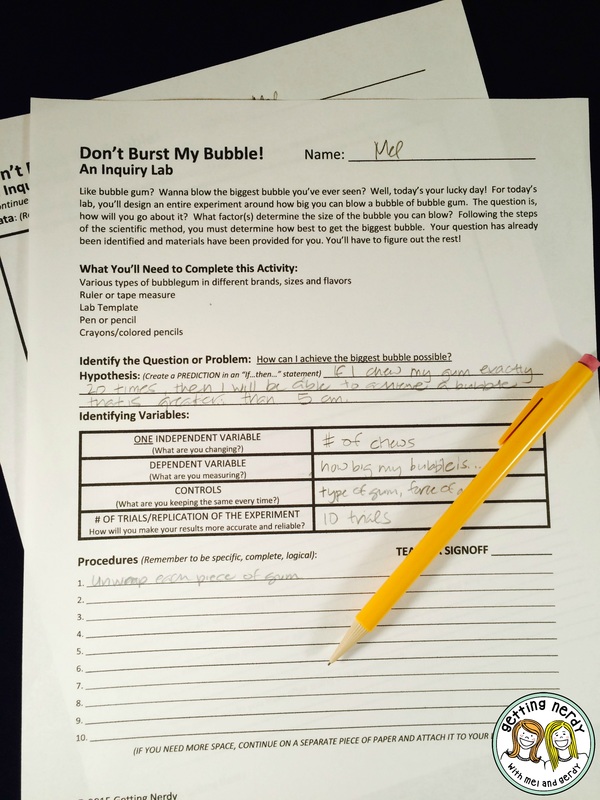
 VARIABLES: While word problems are great practice, they don’t really help students understand the practice of identifying the independent and dependent variables as well as designing a simple experiment themselves. Before we jump in, we always remind students that the DEPENDENT variable depends on the INDEPENDENT variable, and that they can only change ONE THING. In every lab you implement, have students identify the independent and dependent variables, as well as the controls. You’ll find that students will inevitably ALWAYS change multiple things when designing any experiment. It’s a difficult concept to grasp, and the only way to really ensure their understanding is to let them practice, practice, practice. It’s also important to discuss experimental error too, and how changing more than one thing can affect the outcome of any good scientific test.
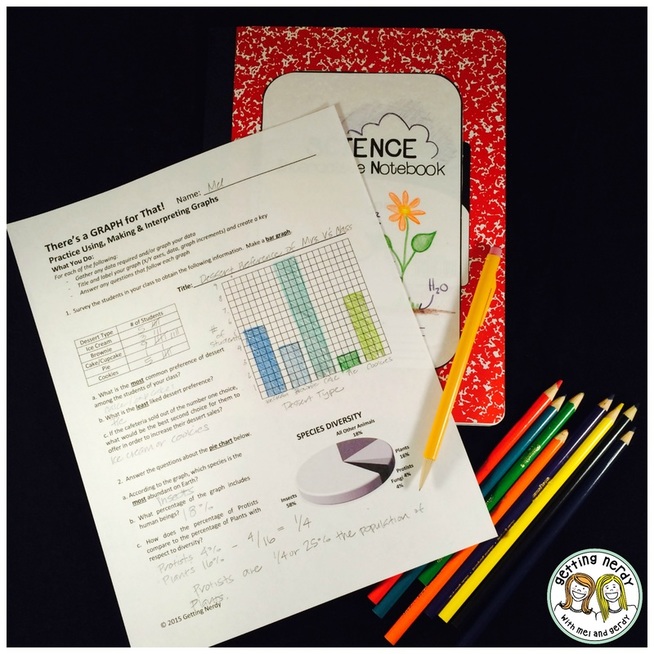
 GRAPHING: One of the biggest parts of scientific inquiry is communicating data. Graphing is an essential skill, onethat many students lack, and it’s important to review it in your refresher course. We like to give students a full day of reviewing all types of graphs – creating them, reading them and interpreting the data contained within them. They collect data about their classmates, graph and interpret it, as well as analyze real data from field studies to get their feet wet with what scientists may work with. You’ll find that with a little graphing review, your students will demonstrate a deeper understanding of their experimental outcomes in labs throughout the year.
 APPLY IT: Use everyday tasks to apply the steps of the scientific method. Many students think that learning science isn’t useful or important to their lives. We combat that by creating scenarios to get kids thinking about how the scientific method is part of their lives everyday. For example, when a lamp is no longer working, what’s the first thing you’ll do? Check the lightbulb, right? But what if that’s not the problem, then where do you go? Is it plugged in? Is the cord in good shape? Remind students that tasks like this, or finding and trying a new brand of iPhone battery, running shoes, or headphones, is all trial and error, and all practice at using the scientific method.
 REPLICATE IT: Remind students that part of the scientific method is replication of an experiment to test the outcome. When creating their own experiment, they must ensure that their directions are clear and concise so the experiment could be performed in the exact same way by another individual. A favorite activity of ours to reinforce this concept is the brushing your teeth demo. We tell students to write down the EXACT steps it takes to brush their teeth in the morning. Then, we pick a student to read their directions out loud. While doing so, we set out a toothbrush and toothpaste and follow their directions to a “T”. If the student says “squeeze the toothpaste onto your toothbrush” we squeeze the entire tube – they didn’t say how much or when to stop. If they say “now spit” we spit the contents of our mouth onto the floor – they didn’t say to spit in the sink. Students erupt in laughter and love our literal interpretation of what should be such a simple task to explain. Now they REALLY get that their directions should include every minute detail.
 USE IT!
 There’s always a scientific “method” to the madness…
Happy Teaching!
If you like this post, you may also like:
Lesson Plan: Scientific Method in Review
Inspire Students. Love Teaching.
We have everything you need to successfully teach life science and biology. Join over 85,000 teachers that are seeing results with our lessons. Subscribe to our newsletter to get a coupon for $5 off your first order!