
When we first started teaching, word walls existed as simple strips of paper, each with the current unit’s vocabulary terms, tacked to a bulletin board and left there for the entire unit – like that unfinished project you started last month, right?! Since those days, there’s been a lot of buzz around the phrase word wall and with good reason – word walls have proven to be essential to exposing students to academic vocabulary not only during, but also before and after instructional time. Word walls have evolved – they have become visual, show word relationships, and are DIFFERENTIATED to meet the needs of diverse learners!
 Make Your Vocab Your Classroom Wallpaper! Put up the entire year’s worth of words at the beginning of the school year. It sounds overwhelming at first, but it’s a great way to show how words relate to each other throughout each unit and the year. For example, in science, one of the characteristics of living things is to take in and use energy. In this respect, an organism can be an autotroph or a heterotroph. This concept is one that students learn at the beginning of the year in class, but it resurfaces again in cellular processes and again in classification and ecology. To have that connection visible throughout the year shows students that they need to refer back to what they learned in the beginning and keeps those difficult to remember terms in the forefront of their memory.
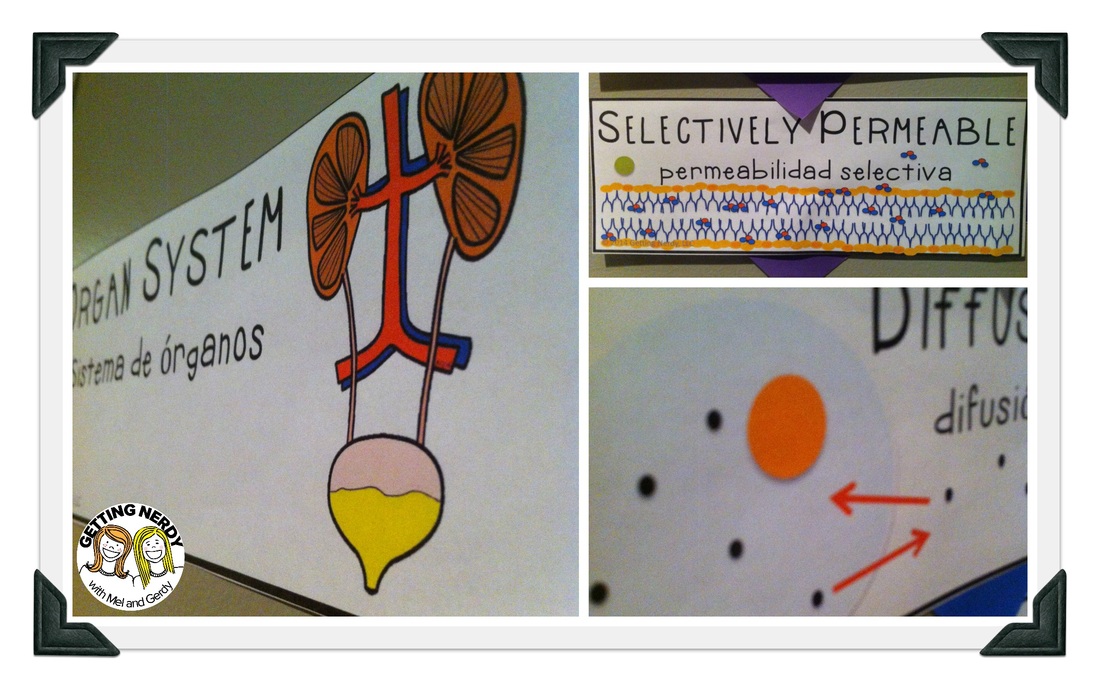
 Make your words come to life! They say a picture is worth a thousand words. Make your word wall a VISUAL one! Many concepts are difficult to comprehend, especially in science. Adding a picture that describes the concept, plays on word associations, or actually shows the term’s meaning can really help those students that struggle with academic vocabulary and give them a better “picture” of what the word means. Not to mention that providing a visual word wall is a way to differentiate for your students as well!
They’re all related!  Yes, providing a word wall is important, but if those words are placed haphazardly on the wall, you miss a great opportunity to show how those words go together. Print out arrows and show how those things RELATE to one another! For example, when teaching the scientific method, you teach that the steps go in a certain order and that you use certain aspects of your senses at certain times. When hanging your word wall, make sure to place those terms in the order in which students would use them and use arrows to show how a student may go back to modify their experiment! This concept can be applied to any set of terms for any unit.
 Yes, providing a word wall is important, but if those words are placed haphazardly on the wall, you miss a great opportunity to show how those words go together. Print out arrows and show how those things RELATE to one another! For example, when teaching the scientific method, you teach that the steps go in a certain order and that you use certain aspects of your senses at certain times. When hanging your word wall, make sure to place those terms in the order in which students would use them and use arrows to show how a student may go back to modify their experiment! This concept can be applied to any set of terms for any unit.
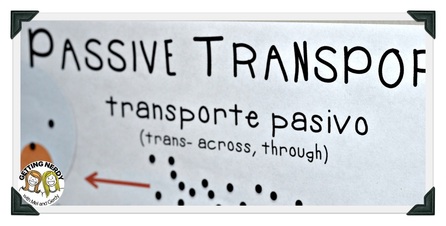
 Accessible to all! Make your word wall accessible to all of your students. While many of your students may find the word wall accessible as it is with both English terms and colorful pictures, there are still a handful that will stare at it blankly and not quite “get” the message you’re attempting to convey. For those students, there are several things you can do. Translate the words into a language they can comprehend and/or provide the root, suffix, and prefix meanings associated with each word on the word wall strip. This will prove to be a big hit in your classes, especially because students really enjoy learning how to say scientific words (or any vocabulary terms for that matter) in another language. For those students in the minority (say you have a student who is from Persia) in your class, you could also provide a sheet for their notebook that has all of this information translated in their specific language as well. Obviously, you wouldn’t translate EVERY sheet for every lesson you give the student, but having those hard to learn words broken down and easily accessible makes life a little easier and class a lot less overwhelming.
 Maintenance free! Make your word wall easy to maintain. Laminate your words, put self-adhesive Velcro on the back of them (rough side), and stick them to a felt piece of fabric tacked to your bulletin board or wall (read our post on how to do this here (Lesson Plan: Word Wall Construction). This makes changing out your words (should you not have enough space to hang the entire year’s worth of words up) an easy and not-so-daunting task when the time comes to switch units. If you want to cover up your word wall during testing, make some curtains with a couple of small pieces of fabric that you can tack above and open and close as you please!
 Last, but not least, USE IT! Now that you have created this beautiful specimen of the ULTIMATE VISUAL WORD WALL, don’t just hang it up and forget about it… USE IT! Rip those puppies off of that felt wall as you talk about a term in class and show how it relates to other terms in that unit. Refer back to it as you make analogies about the terms! Point to it when students struggle with coming up with the answer to a bell work question! Use it as a review tool and build study guide lessons around it! Talk about the roots, suffixes and prefixes and how they relate to other words that they use everyday! Make the amount of work you put into creating it worth your, and your students’, while.
If you’re looking to save time in creating a comprehensive word wall, let us help you with our ULTIMATE LIFE SCIENCE VISUAL WORD WALL
If you like these tips, check out our post on word wall construction:
✕
Inspire Students. Love Teaching.
We have everything you need to successfully teach life science and biology. Join over 85,000 teachers that are seeing results with our lessons. Subscribe to our newsletter to get a coupon for $5 off your first order!
Want some extra amazingness? Use the coupon NEWNERD to get 15% off your first purchase of a Nerdy resource from our website! We love our Nerdy teachers!


I like the idea of putting up the entire years word list. A lot of work up front, but then its done, awesome idea.