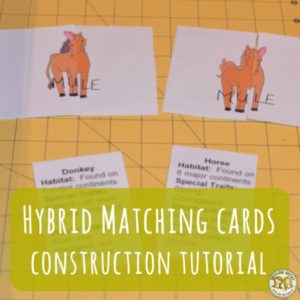
 Have you ever thought of using matching cards as an activity in your science classroom? Our Hybrid Animal Activity is one of our favorite ways to get students thinking about what happens when two organisms of different species mate. This hands-on genetic engineering activity will engage and excite your students as they create real hybrids in the classroom. After students have reviewed hybridization and selective breeding, students will use the cards to determine the advantages and possible disadvantages of hybrid organisms.
Sponge or bellwork: Our lesson always starts with a bell-work question or activity that gets kids thinking about the topic at hand. For example:
- Ask students how animals reproduce in nature ad what would happen if organisms of different species mated.
- Ask students to think about two of their favorite animals and mentally create a hybrid between them. What would be the advantages of this union?
- Ask students to create a list of things that are a hybrid – hybrid cars, for example.
Remind them to cite evidence of their reasoning and that, while their thoughts and words are what we want them to record, options such as “I don’t know” or “because I think it is” are not acceptable answers.
* Activity includes 49 pages total, with teacher notes, student handout.
* 22 sets of organism cards make 11 total hybrids.
* Each set makes 8 total cards.
 First, print out the card on regular copy paper, or as we have found lasts longer, card stock. DO NOT PRINT FRONT TO BACK – this may affect how the cards come together in the end. Match up the animal on the front with the information that pertains to that animal on the back. The cards print in order, so the “horse” pictures should be followed by the information about the horse.
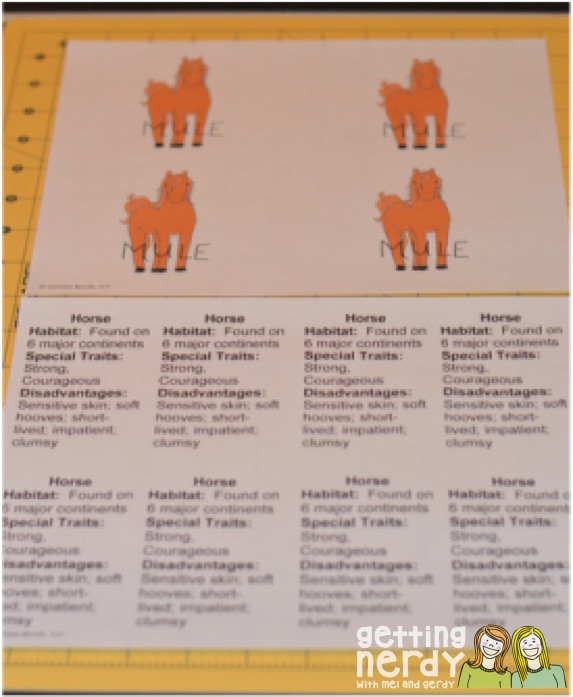
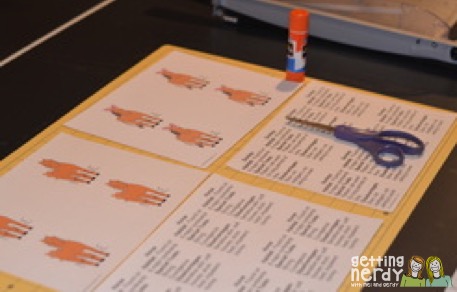
 Then, you’ll flip the sheets over, apply glue using a glue stick – we do not recommend liquid glue as it causes wrinkling of the paper. Glue the two sheets together front to back. It may seem as though you are out of alignment, but the cards will essentially cut the animal in “half” when properly created.
 Once you have them glued together, fold them. Fold first in half. Then, fold each edge into the center, so you have four equal sections of the paper. The information on the back of your cards should be relatively centered in each of the four sections. These fold lines will provide the guides for cutting apart your cards.
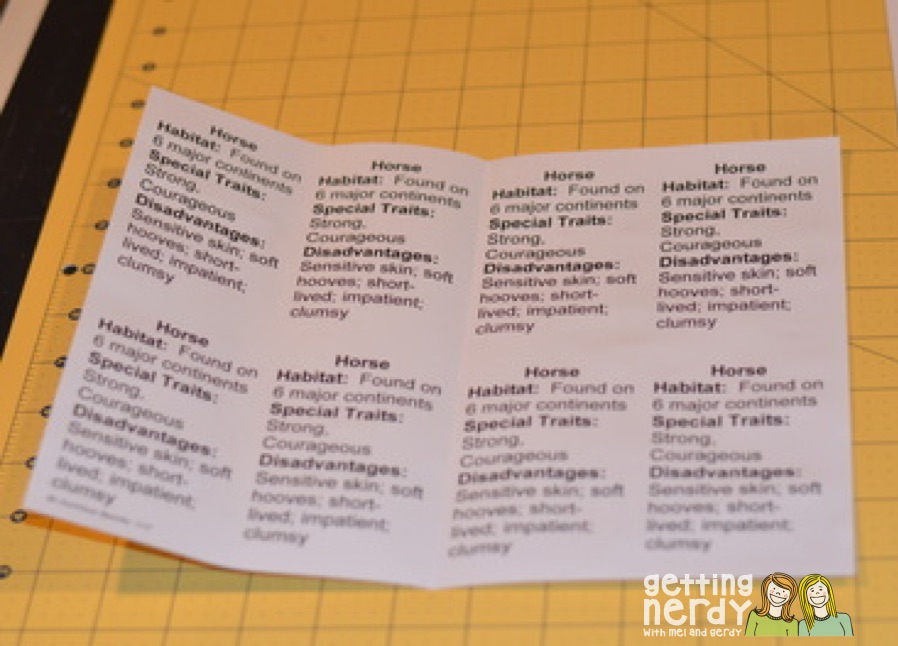
 Flip your cards over so that the animals are facing up, and begin cutting – this way you can see how you are cutting the animals and you can make cleaner lines, ensuring your cards will align properly. If you have one, use a paper cutter – but be careful. One slip and you’ll be reprinting and cutting a new set of cards! In the end, you will cut each animal and the hybrid name in half.
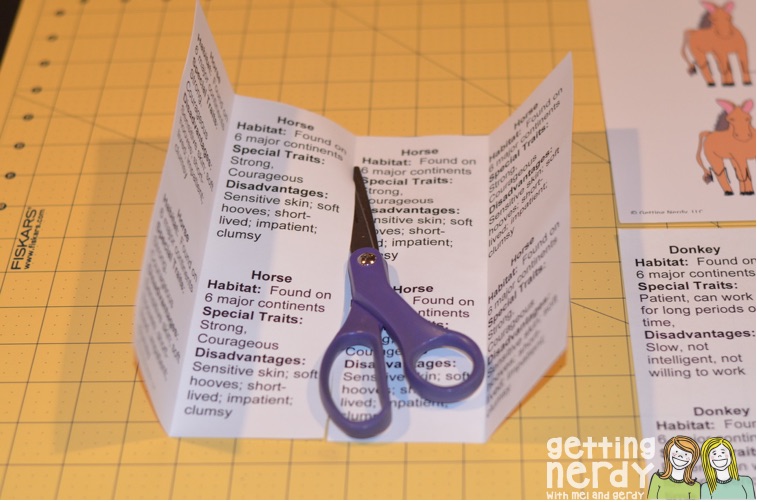

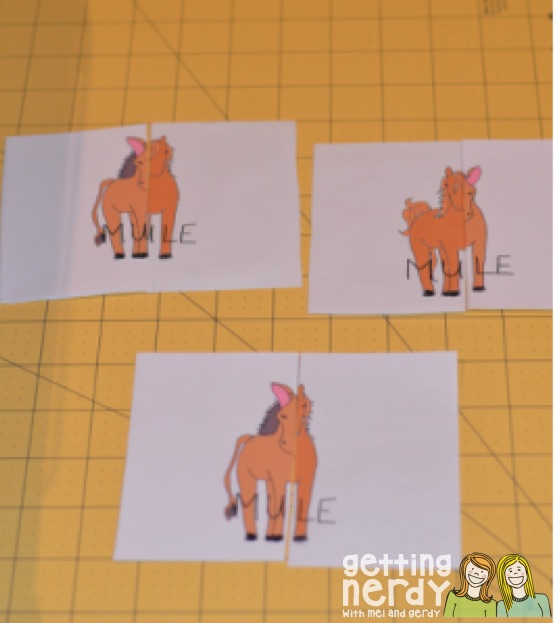
 Then, do the same for the matching card set. Horse and Donkey go together to create a mule. Continue doing this process of gluing, folding and cutting until you have completed each set of cards.

Once you have all of your cards complete, you should be able to match up the two animals. “Half a horse” and “half a donkey” make a mule! One the back of the cards, the kids can find all of the special traits, disadvantages, and habitat information about each animal to complete the worksheet that goes along with the cards. We find that laminating the cards go along way toward preserving the life of the cards. The kids really love this activity, and we hope you do too!
- Have students revisit their hybrid organism from their bellwork. Draw it and identify it’s strengths and weaknesses, habitat, etc.
- Have students research a real hybrid organism and complete a Hybrid Sales Campaign Project.
Need to Modify?
- Provide students fewer or more hybrid crosses.
- Provide students with a partially populated graphic organizer and selected crosses to complete.
Inspire Students. Love Teaching.
We have everything you need to successfully teach life science and biology. Join over 85,000 teachers that are seeing results with our lessons. Subscribe to our newsletter to get a coupon for $5 off your first order!